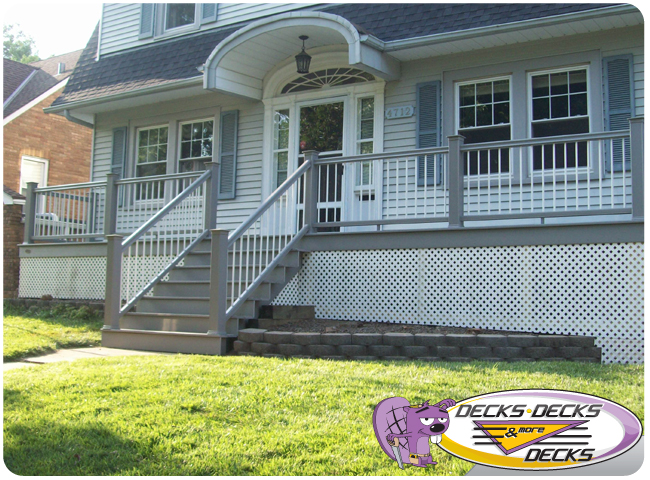
Front Porch Decking Repair: A Comprehensive Guide
A front porch is often the first impression visitors have of your home, so keeping it in good repair is essential for both aesthetics and safety. Over time, porch decking can suffer from wear and tear, weather damage, and other issues that necessitate repairs. This guide will walk you through the steps of repairing front porch decking to restore its beauty and functionality.
Identifying the Problems
1. Inspect for Damage:
- Surface Wear: Check for signs of surface wear such as splintering, cracking, or discoloration. These can indicate that the decking needs attention.
- Structural Issues: Look for loose or wobbly boards, signs of rot or mold, and weakened support beams. Structural issues can compromise the safety of your porch.
- Moisture Damage: Pay attention to areas where water may have pooled or where there is excessive moisture, as this can lead to rot and deterioration.
2. Determine the Extent of the Damage:
- Minor Damage: Small cracks or loose boards can often be repaired with minimal effort.
- Severe Damage: Extensive rot or structural issues may require more significant repairs or replacements.

Repairing Front Porch Decking
1. Prepare the Area:
- Clean the Deck: Remove debris, dirt, and leaves from the deck surface to ensure a clean working area.
- Remove Damaged Boards: If boards are beyond repair, carefully remove them using a pry bar or screwdriver. Be cautious not to damage surrounding boards or supports.
2. Address Moisture and Rot Issues:
- Treat for Rot: Apply a wood preservative or rot-inhibiting treatment to any exposed wood to prevent further decay. For extensive rot, you may need to replace affected beams or joists.
- Improve Drainage: Ensure that water is properly draining away from the porch. Consider adding or repairing gutters and downspouts if needed.
3. Repair or Replace Decking Boards:
- Patch Small Cracks: Use wood filler or epoxy to fill small cracks and holes in the decking. Sand the area smooth once the filler is dry.
- Replace Boards: Cut new decking boards to match the size and shape of the old ones. Secure them in place with screws or nails, ensuring they are level and properly aligned with the existing deck.
4. Reinforce Structural Supports:
- Check Joists and Beams: Inspect the joists and beams for signs of damage or weakness. Replace or reinforce any that are compromised to ensure a sturdy deck.
- Add Bracing: If necessary, add additional bracing or support to stabilize the deck and prevent future issues.
5. Finish and Seal:
- Sand the Surface: Sand the repaired or replaced areas to ensure a smooth, even surface. This will also help with adhesion for any finishing products.
- Apply Sealant: Use a high-quality exterior wood sealant or stain to protect the deck from moisture and weather damage. Be sure to follow the manufacturer’s instructions for application and drying times.
Preventing Future Damage
1. Regular Maintenance:
- Clean Regularly: Keep your porch clean by sweeping away debris and washing the surface as needed.
- Inspect Periodically: Perform regular inspections to catch any signs of damage or wear early.
2. Protect from the Elements:
- Use Covers: Consider using porch covers or mats to protect the decking from harsh weather and excessive foot traffic.
- Apply Sealant: Reapply sealant or stain regularly to maintain protection and prevent moisture damage.
3. Ensure Proper Drainage:
- Maintain Gutters: Keep gutters and downspouts clean and in good repair to ensure proper water drainage away from the porch.
- Address Low Spots: Fill in low spots or areas where water may pool to prevent moisture damage.
Conclusion
Repairing front porch decking involves identifying and addressing damage, replacing or repairing boards, and reinforcing structural supports. Regular maintenance and protective measures can help extend the life of your porch and keep it looking and functioning at its best.
Check Out This Blog!

